Build your first email campaign
Every click from an empty campaign to a launched one, in order.
You will have a launched campaign sending your own approved emails to your own list. Allow at least two weeks beforehand for mailbox warm-up.
Before you start
- A connected Sending mailbox with warm-up on: Connect a mailbox, Warm up a mailbox.
- Leads with email addresses: Import leads for email from a CSV, a paste or a list.
- Read The rules for cold email, PECR and UK GDPR.
Steps
- Open Email outreach, then Campaigns, then New campaign.
- Type a name, tick your sending mailbox, pick Three emails over five days, and click Create draft.
- On the Leads tab, click Add leads and choose From your Outreach leads, Upload a CSV or Paste email addresses. Tick people and click Add.
- Open Sequences. Click step 1 and write a Subject and the email. Use Variables to put in the first name. Add an opt-out line: Unsubscribes and the do-not-email list.
- Click Preview to see it filled in for a real lead. Fix any red "Unknown variable" warning.
- Click each later step, write it and set its days.
- Open Schedule. Check the days, the window and the time zone.
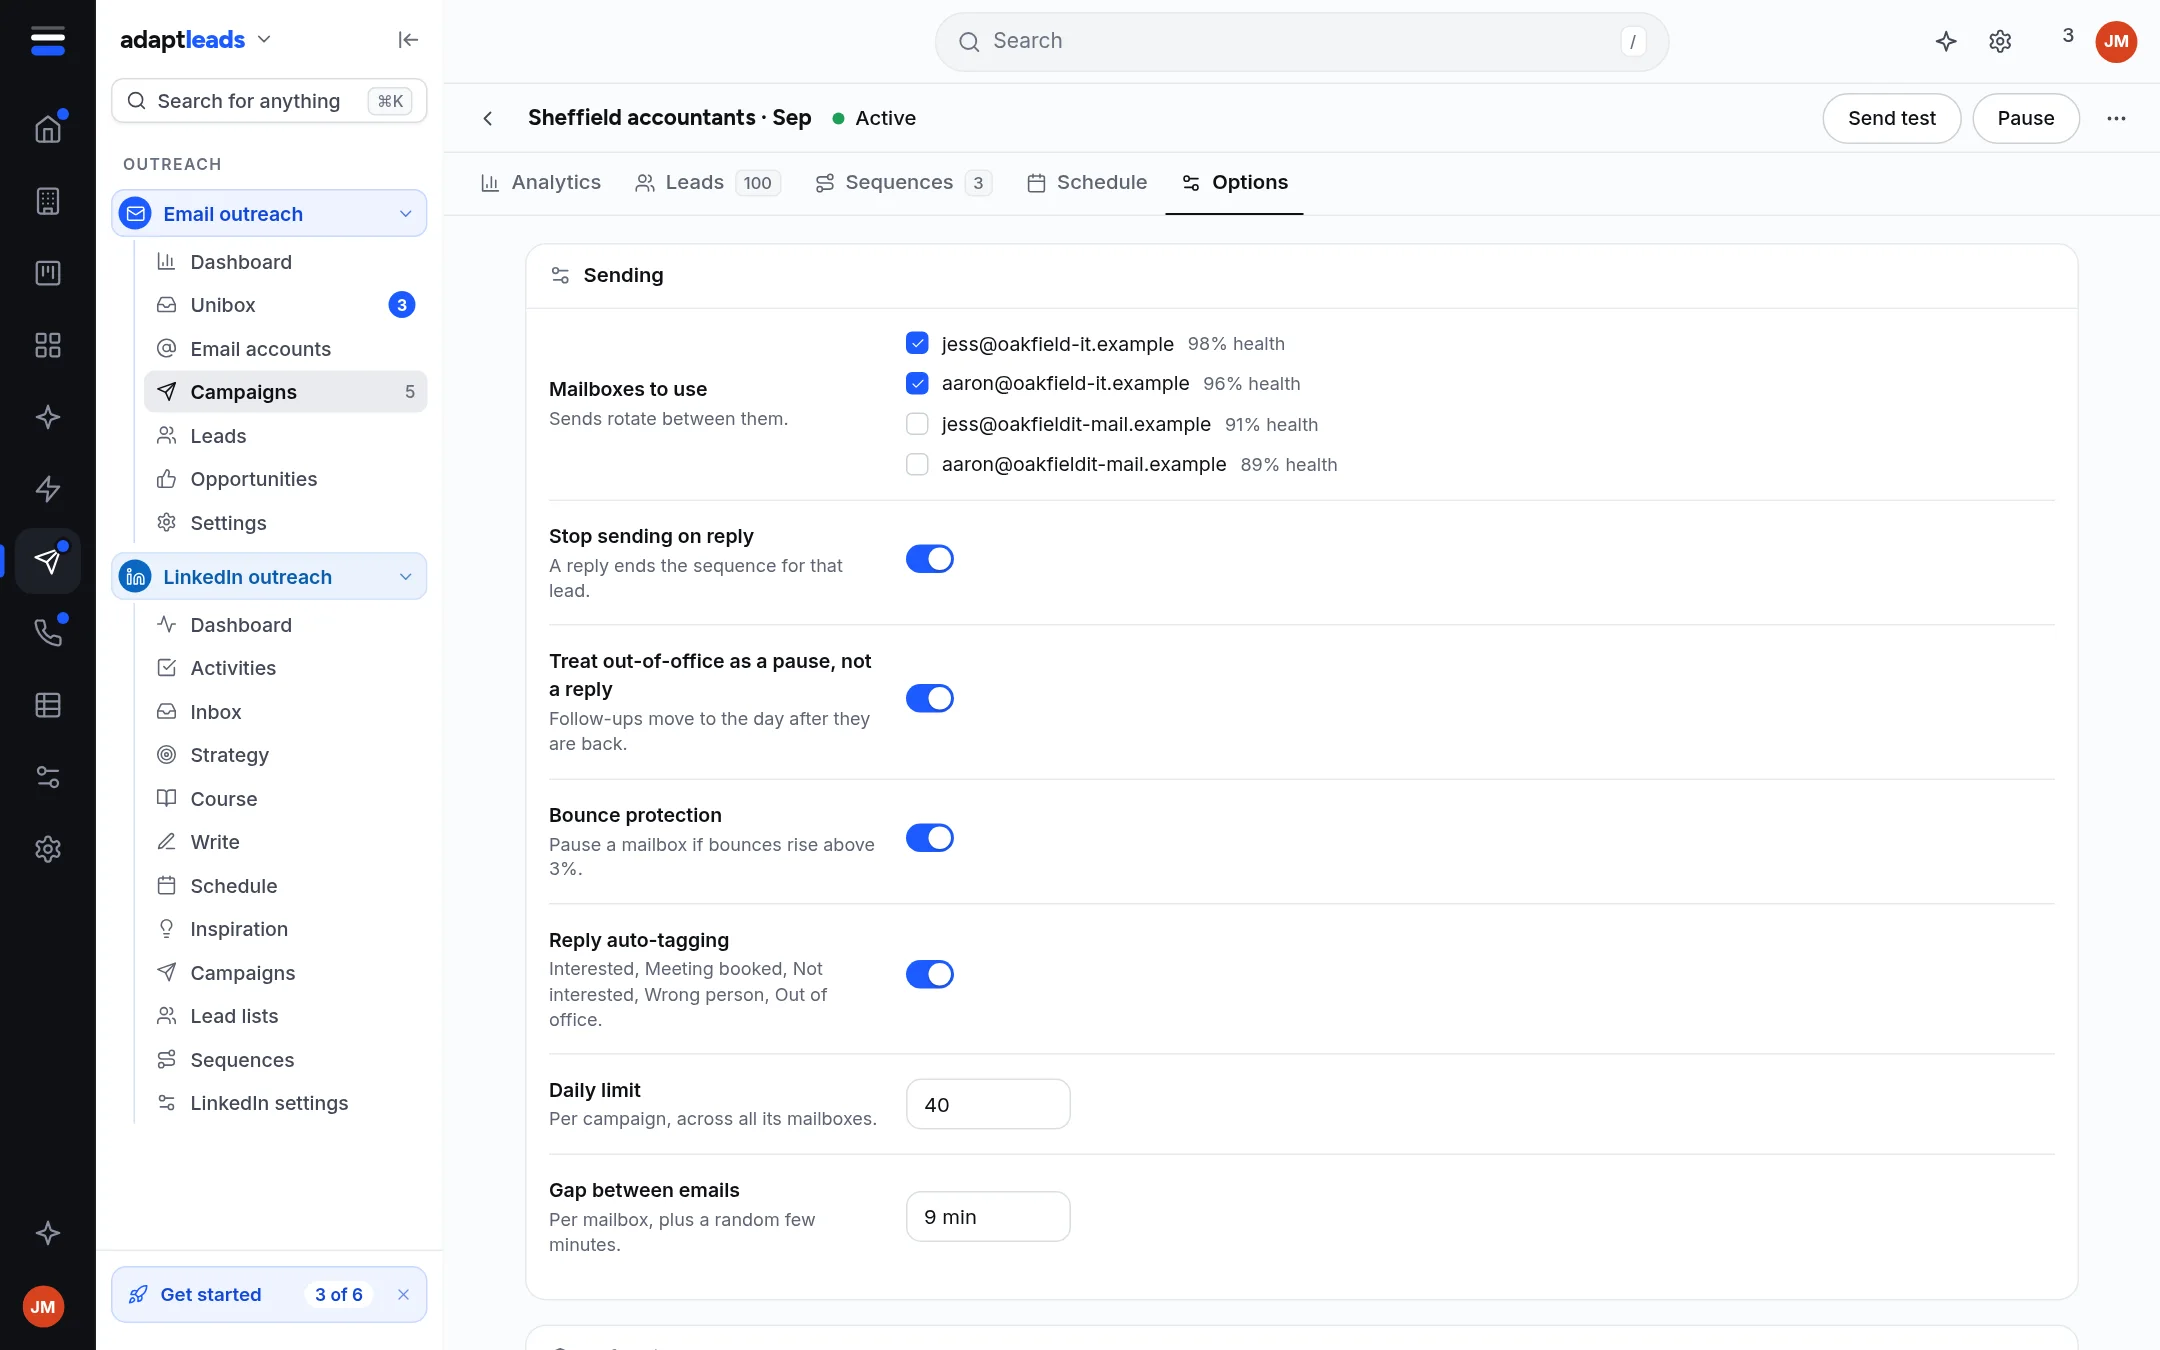
- Open Options. Tick the mailbox. Check the Daily limit.
- Click Save.
- Under Before it can launch, click Send test and read it in your own inbox.
- Click Run spam check. Fix anything marked must fix and run it again.
- Click Approve.
- Click Launch. Read the summary of exactly what will go out, then click Launch and start sending.
What happens next
The first one or two emails go out straight away, even outside your window. The rest follow inside it, with a gap between emails. Follow-ups go on their own days. Replies arrive in the The Unibox: read and sort replies. If you change anything after approving, you must run the spam check and approve again.
If Launch is greyed out, hover it: it says what is missing. See Approve and launch a campaign.